Trezor.io/Start: The Official Guide to Securing Your Crypto
Welcome to Trezor.io/start — the one and only official starting point for setting up your Trezor hardware wallet. If you’ve just received your new Trezor device, this is your first essential stop. Whether you’re using the Trezor Model One or the Trezor Model T, this step-by-step platform ensures you start safely, correctly, and confidently.
Let’s walk through how Trezor.io/start helps you set up your device, what features to expect, and why using this page is crucial for long-term crypto security.
What Is Trezor.io/Start?
Trezor.io/start is the trusted onboarding page where new Trezor users initiate their device setup. It’s managed by SatoshiLabs, the creators of Trezor, and is the only recommended way to begin using your hardware wallet securely.
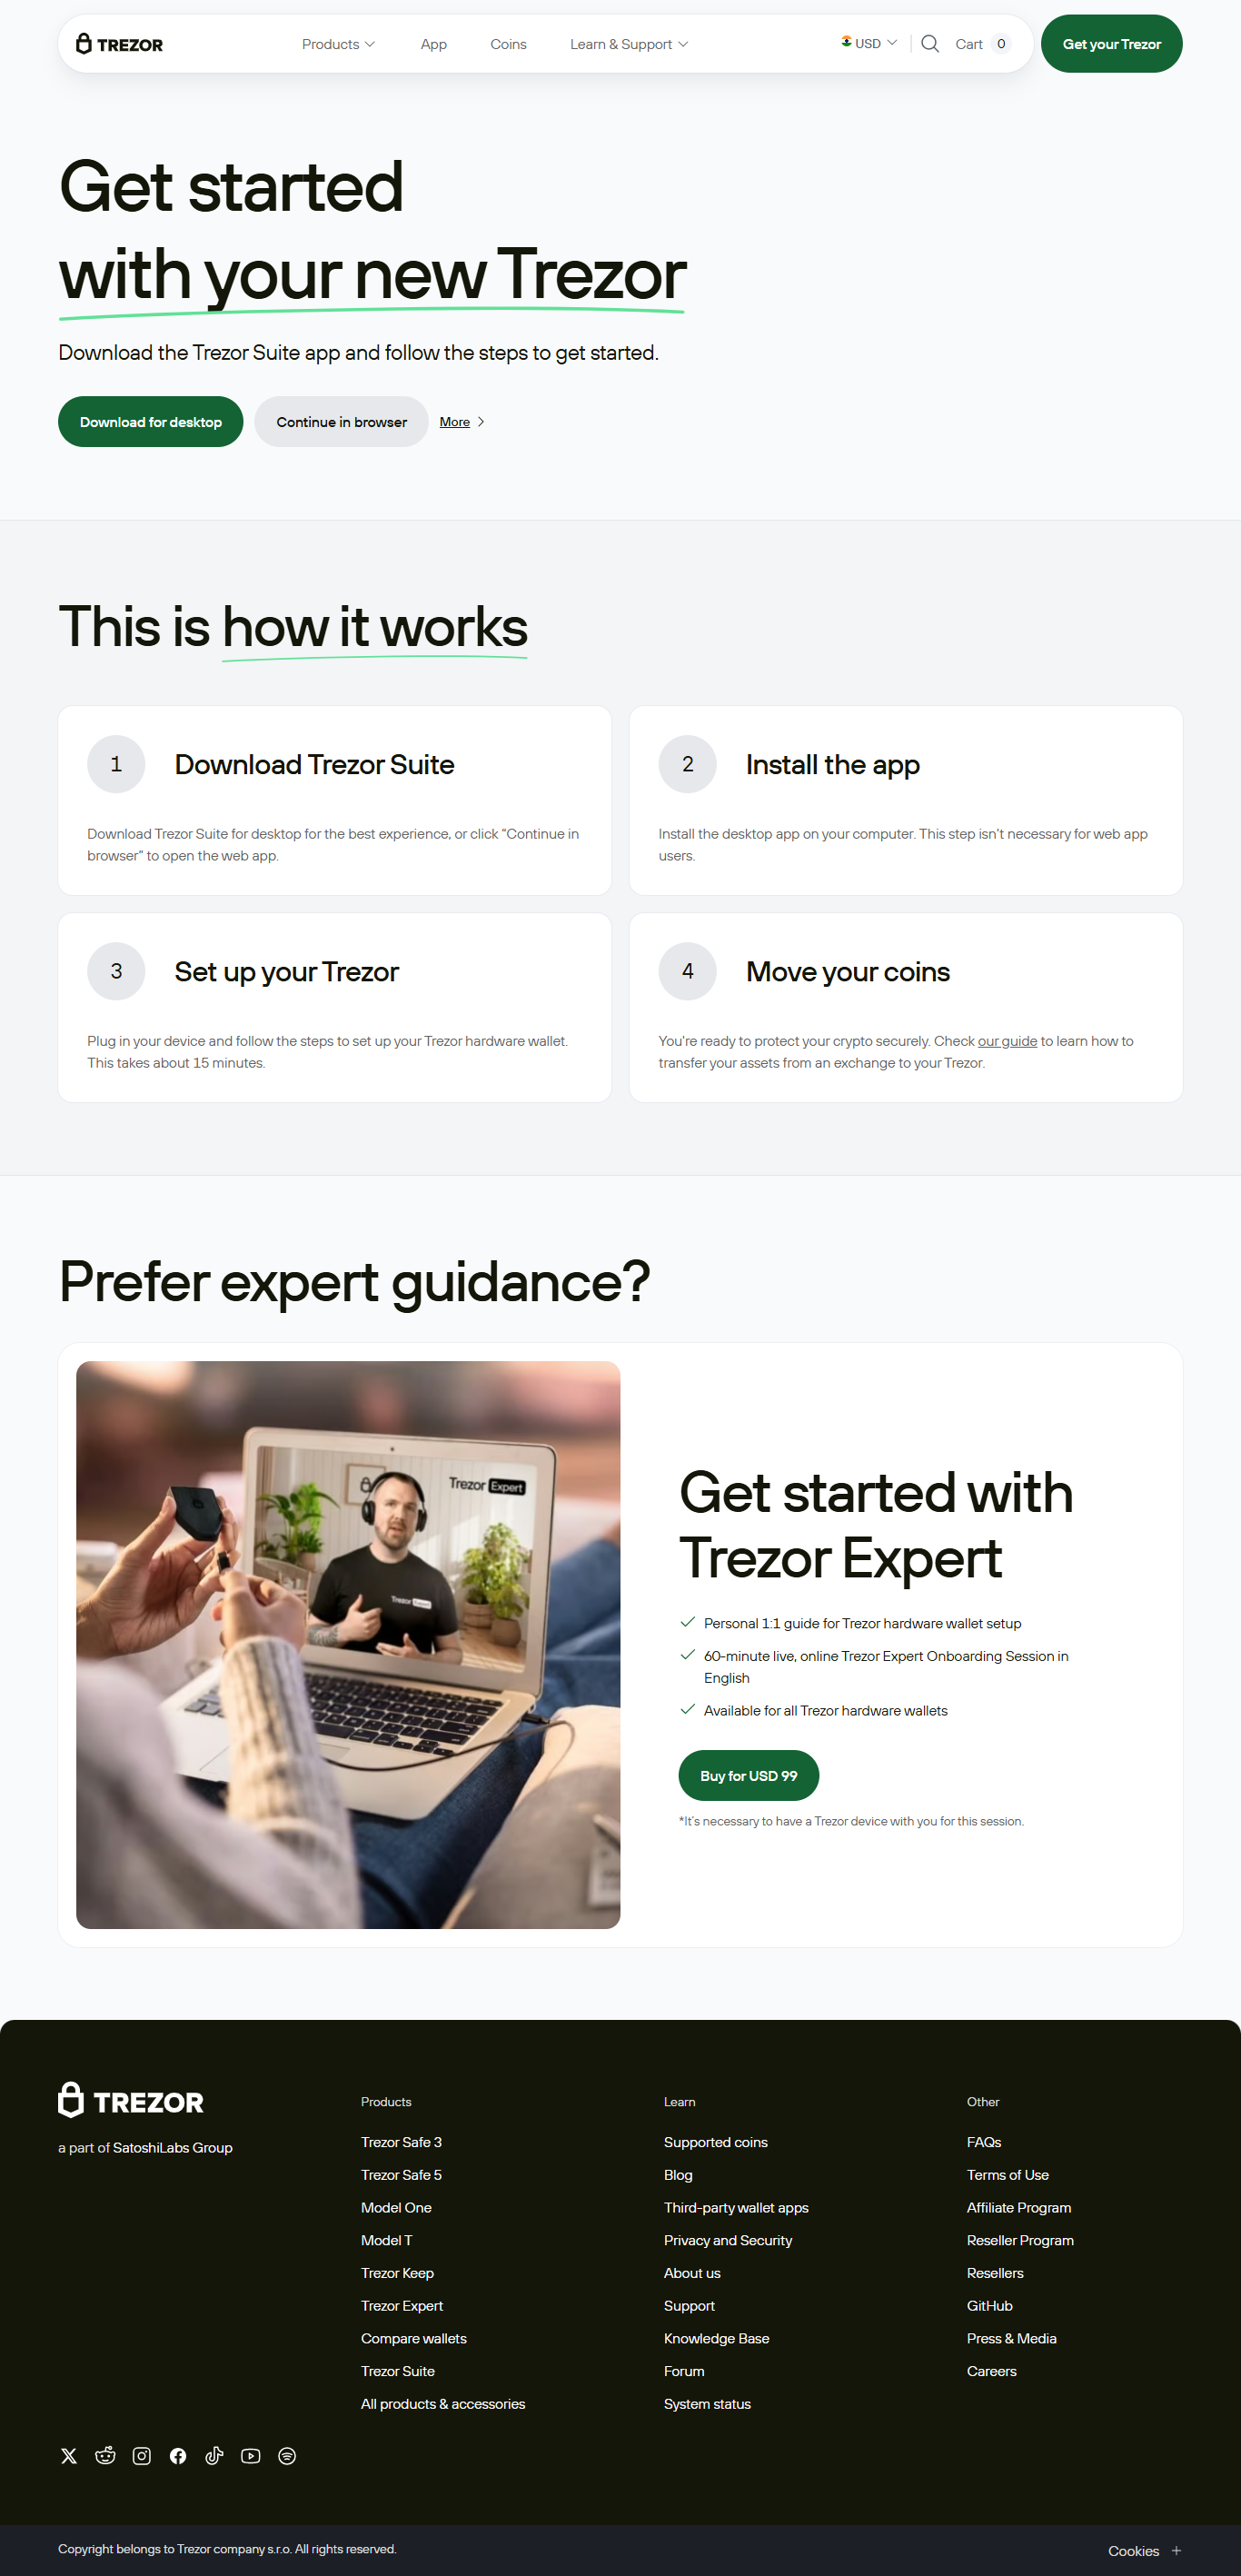
From this site, you will:
- Download the official Trezor Suite application
- Install the latest firmware on your device
- Create or restore a wallet
- Receive crucial information about securing your recovery seed
- Get support directly from the source
Using Trezor.io/start guarantees a secure, verified setup process without third-party risks.
Why Setup Must Start at Trezor.io/Start
In the crypto world, there are no second chances. If your initial setup is compromised, you could lose access to your digital assets permanently. By using Trezor.io/start, you’re ensuring:
- You’re downloading official software free of malware or spyware
- Firmware installation is authentic and verifiable
- Your device is protected from fake clones or altered hardware
- You receive guidance straight from the source, SatoshiLabs
Avoid using any unofficial apps, random download links, or unverified YouTube guides. Trezor.io/start is the only place you need to go.
Step-by-Step: How to Use Trezor.io/Start
Step 1: Go to Trezor.io/start Visit the page on your computer using a secure internet connection and up-to-date browser.
Step 2: Choose Your Device Select your device model — either the Trezor Model One or the Trezor Model T. The website will tailor instructions accordingly.
Step 3: Download Trezor Suite Trezor Suite is the all-in-one desktop application used to manage your wallet. You’ll download the latest version for Windows, macOS, or Linux directly from the site.
Step 4: Connect Your Trezor Wallet Use the included USB cable to connect your Trezor device to your computer. Trezor Suite will automatically detect the hardware.
Step 5: Install Firmware If this is your first use, the firmware must be installed. Trezor Suite will prompt you to begin the installation securely.
Step 6: Create a New Wallet After firmware installation, you’ll be asked to create a new wallet. This is where the magic happens — your new private keys are generated securely within the device.
Step 7: Write Down Your Recovery Seed Trezor will show you a 12- or 24-word recovery phrase. This is your backup key — it must be written down and stored offline. Never take a photo or store it on your computer.
Step 8: Begin Managing Your Crypto Once setup is complete, your wallet is ready to receive, send, and store cryptocurrencies. All actions are approved directly from your hardware device, ensuring secure transactions.
What Is Trezor Suite?
Trezor Suite is the official application you'll download during setup via Trezor.io/start. It serves as your control center for managing your digital assets. With Trezor Suite, you can:
- View balances and transaction history
- Send and receive coins
- Connect with decentralized apps
- Use enhanced privacy tools like Tor and CoinJoin
- Perform secure swaps between crypto assets
Trezor Suite puts powerful tools into your hands while maintaining a clean, easy-to-use interface for beginners and experts alike.
Supported Cryptocurrencies
Using the Trezor hardware wallet and Trezor Suite, you can manage over 1,200 cryptocurrencies, including:
- Bitcoin (BTC)
- Ethereum (ETH)
- Cardano (ADA)
- Solana (SOL)
- Chainlink (LINK)
- ERC-20 tokens
- And many others
Trezor continually adds support for new coins via firmware updates.
Important Safety Tips When Using Trezor.io/Start
- Only trust the URL: Always make sure you're on https://trezor.io/start
- Use a new, untampered device: Your device should be factory sealed
- Store your seed offline: Never save it digitally or share it with anyone
- Set a strong PIN: This adds protection in case someone gains physical access to your device
- Never enter your seed on a computer or online form — only on the Trezor device screen
What Happens If You Skip Trezor.io/Start?
By bypassing the official start page:
- You risk downloading fake or malicious software
- You may not receive the most current security updates
- You could miss out on critical setup steps like verifying the firmware or storing your recovery seed properly
- You could become vulnerable to phishing or fake wallet cloning
In short, skipping Trezor.io/start could expose your funds to unnecessary danger.
Final Thoughts: Your Security Begins at Trezor.io/Start
Starting your crypto journey with the Trezor hardware wallet is a powerful move toward taking control of your finances. But true control begins with proper setup — and that starts at Trezor.io/start.
With secure firmware installation, recovery seed protection, and the powerful Trezor Suite app, you're equipped to navigate the digital asset world safely. Whether you're storing Bitcoin or managing a diverse portfolio, Trezor keeps you secure — right from the start.
Made in Typedream